vscode常用配置
目录
设置
代码缩略窗
搜索minimap,找到“Editor: Minimap”选项,并勾选“Enabled”复选框。

在缩略图中只需要双击右边的文件,即可跳转到对应的位置:
插件
GitLens
神!可以看到每行代码的提交人,只需要将鼠标放在每一行的提示文字上即可:

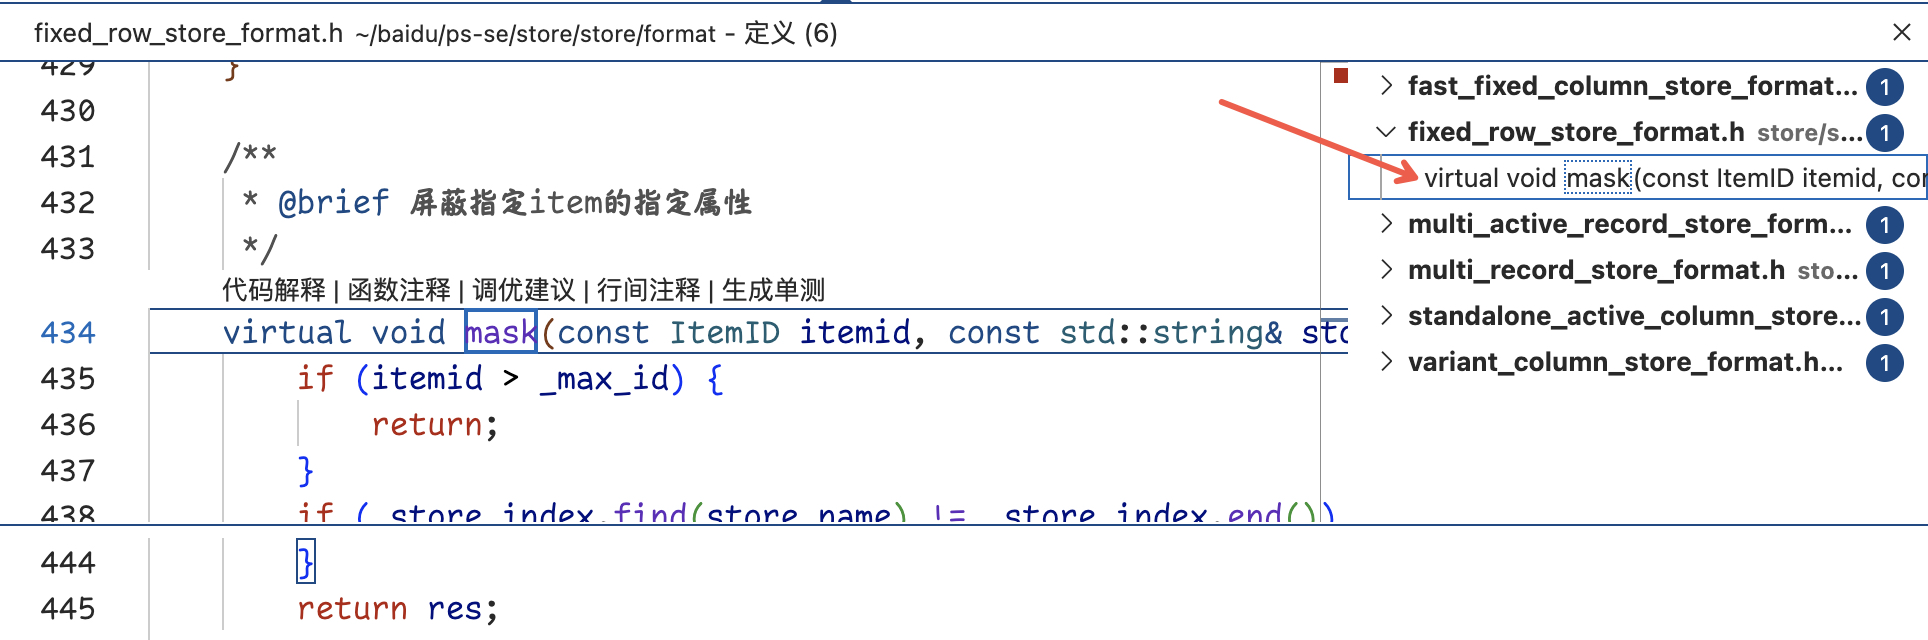
Doxygen Documentation Generator
安装后就可以和 IDEA 一样,通过输入 /** 然后按下回车键,自动生成注释模板
生成注释模板(两种方式,任选其一):
- 方式 1:把光标定位到函数上方,按下快捷键
Ctrl+Shift+D(Windows/Linux)/Cmd+Shift+D(Mac),直接生成完整模板。 - 方式 2(推荐):和 IDEA 一样,输入
/**然后按下回车键,自动补全模板。
填充内容:IDE 会自动识别函数的参数、返回值,生成对应的 @param、@return 标签,你只需要填写具体含义即可。
Material Icon Theme
很漂亮的文件格式
Dracula Theme Official
很喜欢的vscode主题,吸血鬼
Chinese (Simplified)
汉化包,yyds!
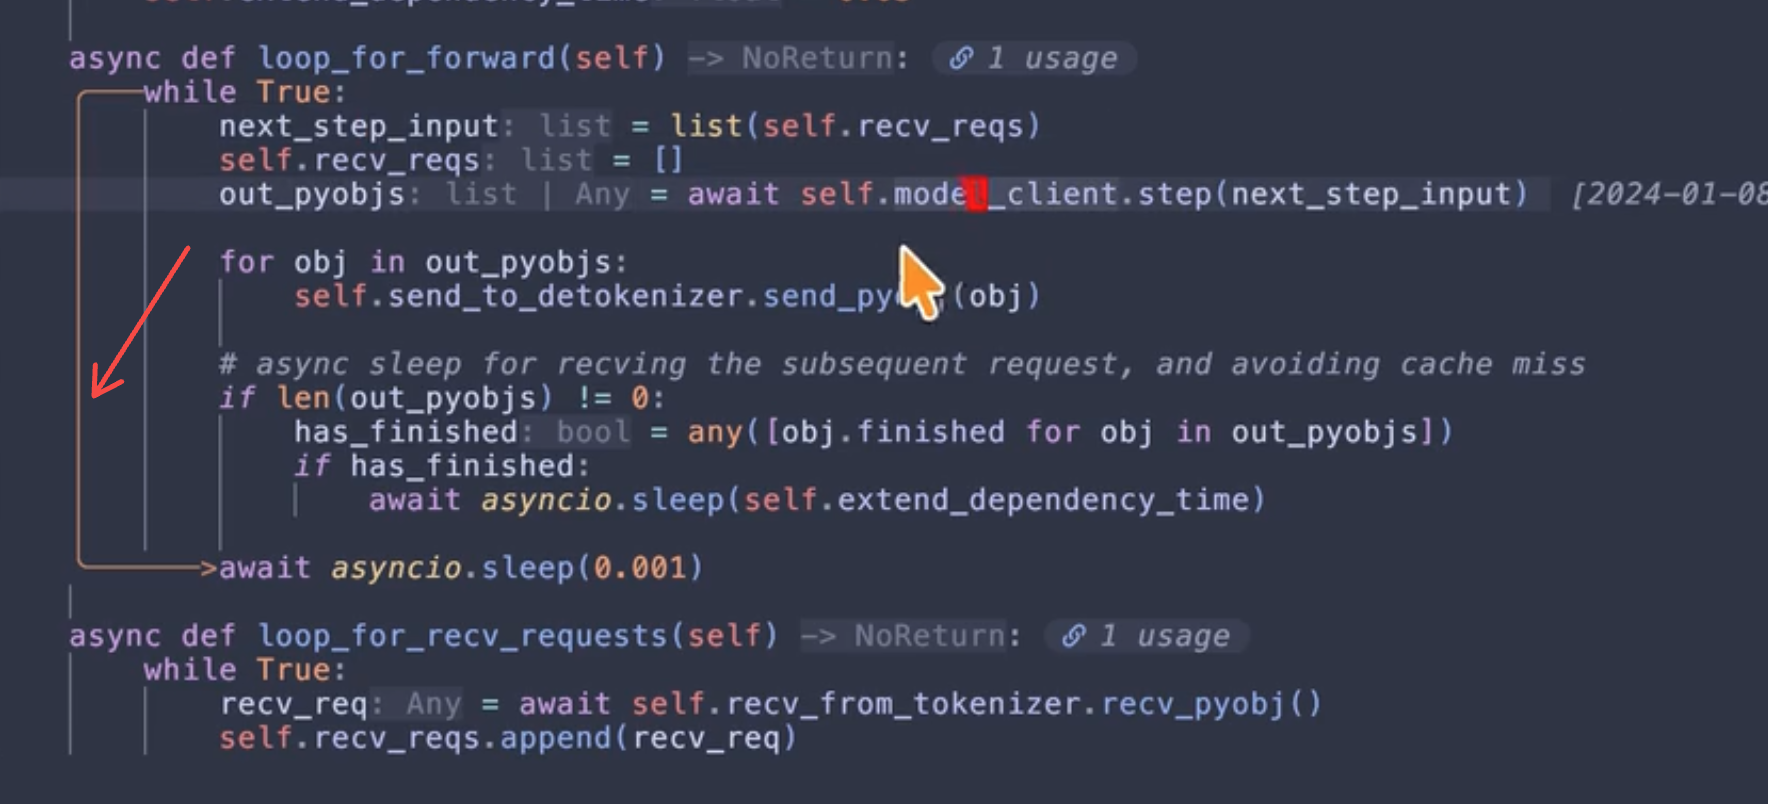
仿造 hlchunk.nvim 效果
我很喜欢一个up的 Neovim 插件,可以漂亮的提示当前 scope 作用域 该博主的配置如下:
|
|
效果如下图所示:
|
|
但是VSCode 自带 active indent guide,设置一下也能基本够用:
settings.json:
|
|
以及彩色scope插件:Guides